Restore a Cluster from a Legacy Backup Snapshot
On this page
Important
Legacy Backup Deprecated
Effective 23 March 2020, all new clusters can only use Cloud Backups.
When you upgrade to 4.2, your backup system upgrades to cloud backup if it is currently set to legacy backup. After this upgrade:
All your existing legacy backup snapshots remain available. They expire over time in accordance with your retention policy.
Your backup policy resets to the default schedule. If you had a custom backup policy in place with legacy backups, you must re-create it with the procedure outlined in the Cloud Backup documentation.
Note
Feature unavailable in Free and Shared-Tier Clusters
This feature is not available for M0 free clusters, M2, and
M5 clusters. To learn more about which features are unavailable,
see Atlas M0 (Free Cluster), M2, and M5 Limitations.
Atlas lets you restore data from a scheduled legacy backup snapshot or from a selected point between snapshots.
Note
You must have the Project Owner role for the Atlas
projects that contain the source and target clusters to restore
data from one Atlas cluster to another.
For replica sets, you can restore from selected points in time within the last 24 hours.
For sharded clusters running:
FCV of 4.2 or earlier, you can restore from checkpoints between snapshots within the last 24 hours.
FCV of 4.2 or later, you can restore from selected points in time within the last 24 hours.
You can restore data to the same cluster from which the snapshot was taken or to other clusters that Atlas or Cloud Manager manage.
You must restore the backup to a cluster running either the same major release version, or the next higher one. Atlas doesn't support restoring to older versions.
You can still use backups made before an upgrade.
Example
To restore a 3.6 cluster to 4.0:
Restore the old 3.6 backup to another 3.6 cluster.
Upgrade the restored cluster to 4.0.
For instructions on restoring data from a Cloud Backup, see Restore Your Database Deployment.
Considerations
Downtime for the Target Cluster
The restore process requires downtime for the target cluster.
MongoDB Versions Must Be Compatible
The MongoDB versions must also be compatible. For instance, you cannot restore from a snapshot of a 4.4 cluster to a 4.0 or earlier cluster.
Restore to Atlas or Cloud Manager
If you have the proper project permissions, you can restore to a cluster of a different project in either Atlas or Cloud Manager:
Restore to Project on | Required Roles on Destination Project |
|---|---|
Atlas | |
Cloud Manager | One of the following Cloud Manager roles: |
Prerequisites
Stop Client Operations during Restoration
You must ensure that the target Atlas cluster does not receive client requests during restoration. You must either:
Restore to a new Atlas cluster and reconfigure your application to use that new cluster once the new deployment is running, or
Ensure that the target Atlas cluster cannot receive client requests while you restore data.
Procedure
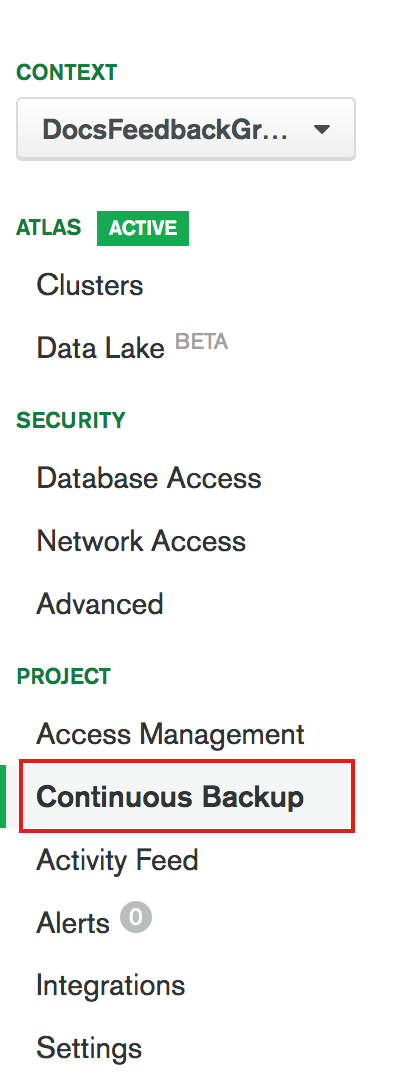
Click Legacy Backup in the left navigation.
Choose the cluster to restore.
The Overview tab on the Legacy Backup page lists the project's clusters.
If backup is enabled for the cluster, the Status is Active.
If backup is disabled for the cluster, the Status is Inactive.
To begin restoring a cluster either:
Hover over the Active status of the cluster and click Restore or Download or
From the menu next to the cluster select Restore.
Select the restore point.
Choose the point from which you want to restore your backup.
Restore TypeDescriptionActionSnapshotAllows you to choose one stored snapshot.Select an existing snapshot to restore.Point In TimeCreates a custom snapshot that includes all operations up to but not including the selected time. By default, the Oplog Store stores 24 hours of data.
Example
If you select
12:00, the last operation in the restore is11:59:59or earlier.Important
Continuous Cloud Backup Timeframe Limits
You cannot perform a continuous cloud backup that covers any time prior to the latest backup resync.
For sharded clusters running FCV 4.0 or earlier, you must enable cluster checkpoints to perform a PIT restore on a sharded cluster. If no checkpoints that include your date and time are available, Atlas asks you to choose another point in time.
For sharded clusters running FCV 4.2 or later, you can restore from any point in time within the duration of the oplog.
Select a Date and Time.Oplog TimestampImportant
Replica Sets and Sharded Clusters running FCV 4.2 Only
You can't use this backup point objective with Sharded Clusters running FCV 4.0 or earlier.
Creates a custom snapshot that includes all operations up to and including the entered Oplog timestamp. The Oplog Timestamp is represented as two fields:
Timestamptimestamp in the number of seconds that have elapsed since the UNIX epoch
IncrementOrder of operation applied in that second as a 32-bit ordinal.Type an Oplog Timestamp and Increment.
Run a query against
local.oplog.rson your replica set to find the desired timestamp.Click Next.
Example
Finding the latest Oplog Entry
To find the latest Oplog entry, run the following query
in a mongosh
db.getSiblingDB('local').oplog.rs.find().sort({$natural:-1}).limit(1).pretty()
{ "ts": Timestamp(1537559320, 1), "h": NumberLong("-2447431566377702740"), "v": 2, "op": "n", "ns": "", "wall": ISODate("2018-09-21T19:48:40.708Z"), "o": { "msg": "initiating set" } }
The parts of the ts value correspond to the values
you need for the Timestamp and
Increment boxes.
Note
To translate the epoch time into a human-readable timestamp, try using a tool like Epoch Converter
MongoDB does not endorse this service. Its reference is intended only as informational.
Choose to restore the files to another cluster.
Click Choose Cluster to Restore to.
Complete the following fields:
FieldActionProjectSelect a project to which you want to restore the snapshot.Cluster to Restore toSelect a cluster to which you want to restore the snapshot.
Atlas must manage the target replica set.
Warning
Automation removes all existing data from the cluster. All backup data and snapshots for the existing cluster are preserved.
Click Restore.
Atlas notes how much storage space the restore requires.
Click Restore.
Use your preferred archive utility to extract the archive and access the data files.
Atlas compresses the snapshot into a .tar.gz file. This
archive includes the snapshot and the mongod logs.
Extract the files in the archive.
Example
The following command uses the
tarutility to extract atar``archive with ``gzipcompression.tar -xvzf ~/Downloads/mongodb-snapshots/my-cluster-snapshot.tar.gz Access the data files by starting a
mongodinstance on the host and pointing it at the extract directory using the--dbpathoption.Example
The following command starts a
mongodinstance using the extracted data file directory:mongod --dbpath ~/Downloads/mongodb-snapshots/my-cluster-snapshot/